
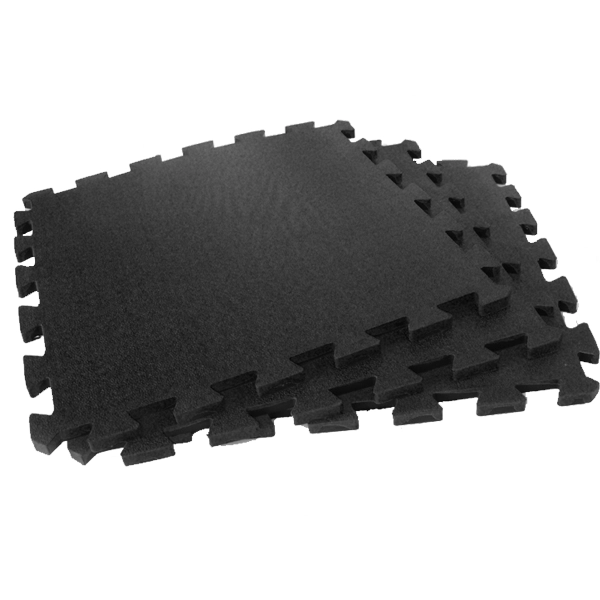
To calculate gym flooring quantity, measure the room, choose the appropriate flooring system, then plan how its actual tiles or rolls will cover the shape. Dividing floor area by product area gives a useful starting number. It does not automatically account for cuts, edges, columns or the way the material must be installed.
The cheapest-looking quote can become expensive when it leaves out the pieces needed to finish the room.
Choose the system before calculating the order
The activity and building determine which flooring system is appropriate. A stretching area, a machine area and an impact-lifting area may have different requirements. Start with the existing gym-flooring buying guide if that choice is unresolved.
Once a system is shortlisted, obtain its published coverage dimensions, thickness, edge details and installation instructions. A nominal tile size may not describe the effective coverage after interlocking. Rolls may be sold by a fixed length, a linear metre or another unit.
Manufacturer documents such as the Pliteq TREAD product specification show why the product's actual dimensions and specification should be used. Do not borrow the coverage figure of a similar-looking tile.
Make a measured room sketch
Record the main dimensions, recesses, columns, door openings and any areas that will not receive flooring. Include door swings and transitions to neighbouring finishes. A room described as “about twenty square metres” is not enough for a cutting plan.
For an irregular room, divide the shape into rectangles, calculate each area and account for overlaps or exclusions. Keep the sketch with the calculation so another person can check it. Re-measure before ordering if the room is still being altered.
Measure in one unit consistently. Converting a few dimensions from centimetres while leaving others in metres can produce a convincing-looking but badly wrong total.
Work through a simple tile example
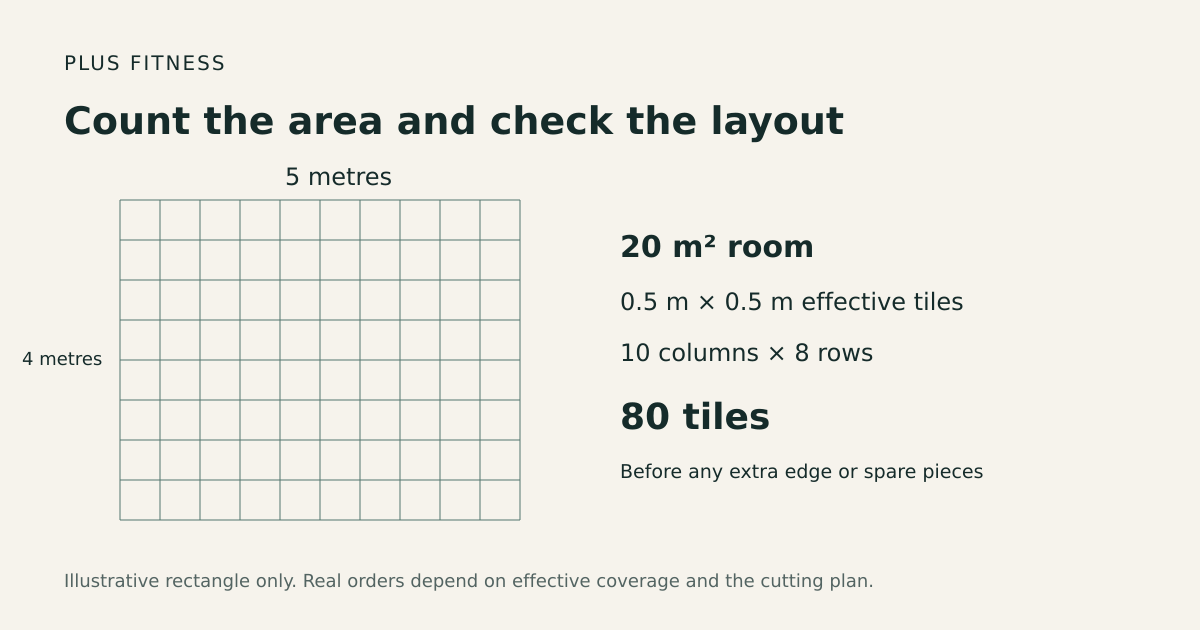
Suppose an illustrative room is exactly 5 m by 4 m and a suitable tile has an effective coverage of 0.5 m by 0.5 m. The room area is 20 m² and each tile covers 0.25 m².
The area calculation gives 20 ÷ 0.25 = 80 tiles. The layout check agrees: ten tiles across one direction and eight across the other, giving 80. This example assumes a simple rectangle, no special edge pieces and no installation constraints that change the layout.
| Calculation | Result |
|---|---|
| Room area | 5 × 4 = 20 m² |
| Effective tile area | 0.5 × 0.5 = 0.25 m² |
| Area-based starting count | 20 ÷ 0.25 = 80 |
| Row-and-column check | 10 × 8 = 80 |
Now change the room to 5.2 m by 4 m. The area is 20.8 m², which gives 83.2 tiles, rounded up to 84 by area alone. A simple row layout, however, needs eleven tile positions across the 5.2 m direction and eight rows: 88 tile positions, with the last strip cut.
The final purchase quantity depends on which offcuts can actually be reused, the edge pattern and the manufacturer's installation method. The example demonstrates why area alone can understate an order. It is not a recommendation to buy 88 tiles for every room of 20.8 m².
Treat rolls as a cutting problem
Consider the original 5 m by 4 m room and a hypothetical roll 1.2 m wide. Four 5 m lengths would span the 4 m width, with the last length trimmed. That uses 20 linear metres of material, or 24 m² before trimming, to cover a 20 m² room.
The difference is not necessarily supplier wastefulness. It comes from the roll width and layout. Another orientation, seam arrangement or product width could change the result. If material is sold only in complete rolls, the purchase quantity may also differ from the total linear metres in the cutting plan.
Ask the installer to show the proposed seams and explain any offcut reuse. Do not assume every offcut can be rotated, joined or placed elsewhere without affecting the finish or installation requirements.
Add the items that complete the floor
The quote should identify relevant edge and transition pieces, approved joining or adhesive materials, substrate preparation, installation and waste removal. Include any delivery and handling charges. Ask whether the quoted quantity is gross material supplied or net area covered.
Substrate condition matters. Moisture, unevenness and existing finishes may require assessment before installation. Product instructions should determine preparation and any acclimatisation requirements; a generic waiting period is not appropriate for all materials.
Door clearance deserves an early check. Adding flooring can affect door operation and transitions. Solve that in the plan rather than trimming or changing components without agreement on installation day.
Keep a repair allowance deliberate
Retaining compatible spare material can be useful, but the amount should follow the layout, product availability and expected maintenance needs. Do not apply a universal waste percentage without explaining the room and material.
Label any retained pieces with the product and batch information where available. Store them as instructed. A spare tile that is warped or unidentified may be much less useful when a repair is needed later.
Approve a complete flooring proposal
Before paying, obtain the measured plan, product specification, cutting layout, supplied quantity and installed scope. Check that the selected system matches the activity. The plate guide and upstairs-noise guide explain why rubber appearance and thickness alone cannot settle impact or building questions.
Plus Fitness lists interlocking gym-floor mats. Send the room sketch and activity plan, then ask for effective coverage and a complete quotation. A defensible quantity is one that can be traced back to the room and the installation method, with the finishing details included.
Leave a Reply