
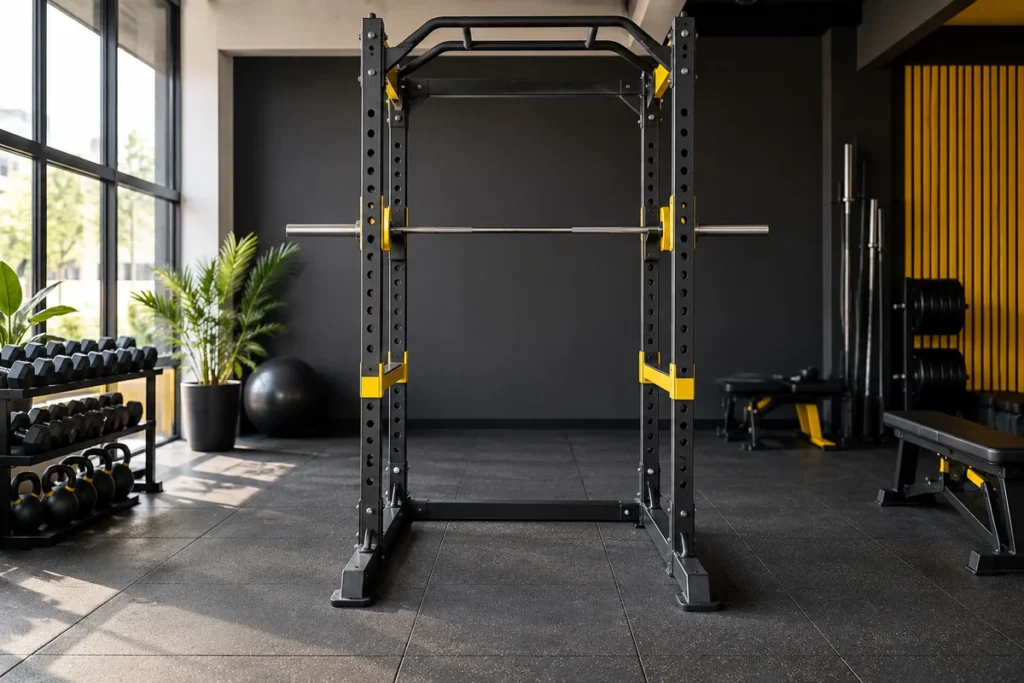
Featured image: AI-generated rack concept; not an installation plan or a photograph of a product offered for sale.
A squat rack or power cage should be chosen as part of a complete lifting setup: rack, bar, bench, plates, safety equipment and room. Start with the intended exercises and the manufacturer’s requirements, then check dimensions, attachment compatibility, installation and the meaning of each load rating.
Product names are inconsistent. A listing called a “rack” may describe independent stands, a half rack or a full cage. Look at the structure and documentation rather than deciding from the name alone.
Understand the arrangement being offered
Independent squat stands provide separate supports. A half rack generally has a connected structure with lifting positions in front of the uprights. A full cage provides an enclosed frame in which compatible safety supports may be fitted. Wall-mounted or folding systems introduce their own installation and storage requirements.
Those descriptions are only a starting point. The stability, permitted loading and safety arrangements depend on the exact model, how it is installed and the activity. A larger-looking frame does not automatically make every exercise appropriate.
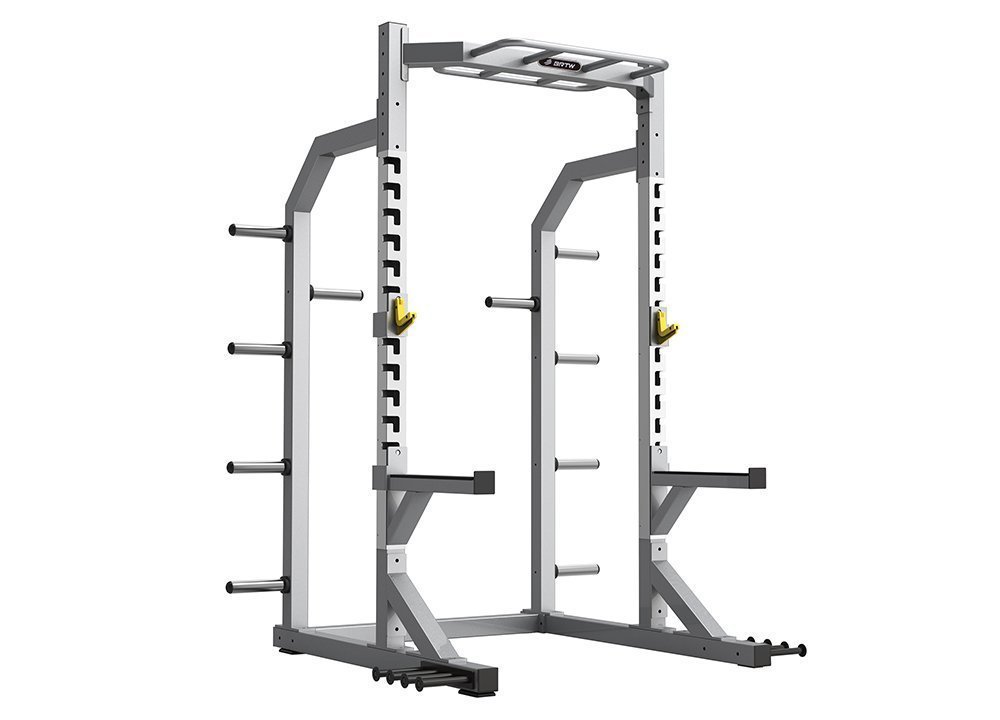
The POWER RACK PB68 is one catalogue example to discuss with Plus Fitness. Request the actual dimensions, included components, installation instructions and load ratings before comparing it with another rack or cage.
Check four different spaces
First, measure the equipment footprint. Include feet, storage horns and any attachment that extends beyond the main frame. Second, check ceiling height against the complete structure and intended activity. A pull-up attachment needs more consideration than whether the frame itself fits beneath the ceiling.
Third, allow room around the bar. You need to load and unload plates at both ends and move through the room without creating a conflict with doors, mirrors or other users. Fourth, check the delivery route, including shipping dimensions and any manufacturer-permitted disassembly.
These measurements should be shown on the same layout. Do not rely on a rack footprint marked inside a room while the bar extends into a wall. Use the manufacturer’s clearances and appropriate site advice rather than a universal clearance guessed from an online photograph.
Match the bar and bench before ordering
Confirm the distance between the rack supports and the usable shaft area of the bar. A bar can accept the right plates yet be too short for the rack arrangement. Ask the supplier to confirm the exact combination. Check barbell, plate and collar compatibility and bench fit and load ratings as separate decisions. Coordinate the rack with the flooring specification; if space remains tight, compare a dumbbell-based arrangement before committing to the larger setup.
If a bench will be used, check its feet, frame and adjustment positions against the rack’s crossmembers and supports. Make sure it can be positioned as required for the activity without resting awkwardly on another component. Physical fit should be assessed alongside appropriate coaching and the equipment instructions.
Do not assume that matching colours or the same seller establish compatibility. Keep the model names together on the quotation so a substitution is checked against the whole setup.
Read the ratings component by component
A rack may have different limits for the frame, bar supports, safety arms, pull-up bar, storage pegs and attachments. Ask which rating applies to each included component and under what installation conditions.
Clarify whether a quoted capacity describes a static load or another specified test condition. Do not convert a static number into permission to drop a loaded bar onto the supports. The manufacturer’s permitted use governs the setup.
| Component | Evidence to request |
|---|---|
| Main structure | Model, installation requirements and permitted use |
| Bar supports | Compatible location, engagement method and stated limit |
| Safety supports | Included type, compatible positions and conditions of use |
| Pull-up or dip attachment | Compatible model and attachment-specific limit |
| Storage pegs | Intended plates, capacity and effect on the installation |
If a seller provides only one large capacity number, ask for the missing component information before treating it as a complete specification.
Check the safety arrangement, not just whether it is included
Safety bars, straps or arms must be compatible with the rack and used according to the manufacturer’s instructions. Their presence does not remove the need for appropriate technique, setup and supervision. A qualified coach can help determine the correct exercise setup for the user.
Ask the supplier to demonstrate how the supports are fitted and secured, and how to recognise correct engagement. Check whether all required pins or retainers are included. Avoid substituting a bolt, pin or accessory simply because it passes through a hole.
For shared facilities, clear instructions and consistent equipment checks are especially useful. A component that is moved frequently should not depend on every user guessing how it locks into place.
Treat anchoring as a site-specific requirement
Some racks require anchoring or other installation conditions. Obtain the exact instructions before purchase and establish whether the proposed floor or wall can accommodate the installation. A qualified person should assess the substrate and appropriate fixing method where needed.
Do not assume that a wall-mounted rack can be fitted to any block wall, or that a free-standing appearance means anchoring is unnecessary. The equipment instructions and the actual building both matter.
For rented premises, confirm permission for the proposed installation. Keep the responsibility for building approval, substrate assessment and equipment assembly explicit in the quotation. A supplier’s assembly service does not automatically cover all those tasks.
Plan storage without using it as an improvised stabiliser
Plate storage can make a rack more convenient, but use only the locations and loading arrangements permitted by the manufacturer. Do not add weight to a frame as an improvised substitute for required anchoring or stabilisation.
Check that stored plates do not obstruct the bar, bench, safety supports or circulation. Keep collars and small accessories in a defined place so they are available without accumulating on the floor.
If space is limited, resist the temptation to attach every available accessory at once. Each attachment can change the usable area and the way people move around the rack. Buy accessories to support actual activities and confirm their compatibility before adding them.
Inspect and document the setup
Follow the manufacturer’s inspection and maintenance instructions. Damage, missing retainers, uncertain engagement or movement that differs from normal operation should be assessed before use. Do not weld, drill or modify the structure to make an unapproved attachment fit.
HSE’s equipment inspection guidance provides a useful general reference for checks based on the equipment and its conditions of use. It should not be turned into an invented universal inspection interval or a claim of compliance with Nigerian law.
Keep the model details, installation record and instructions together. In a shared gym, assign an asset identifier and make it clear who can take the rack or an attachment out of use when a defect is reported.
A sensible order of decisions
Choose the intended activities and users first. Confirm the room and installation conditions next. Then compare rack, bar, bench and safety components as one system. Only after those checks should appearance, extra attachments or package discounts decide between otherwise suitable options.
For a wider equipment plan, read the commercial gym buying guide or the small-apartment gym guide, depending on the setting.
Contact Plus Fitness with your measured room and proposed bar and bench. Ask for a compatible rack proposal, the relevant manuals and a written installation scope before placing the order.
Prepared with AI assistance. Sources and product links checked on 18 September 2026.
Pingback: Barbell, Plate and Collar Compatibility | Plus Fitness